One of the hardest challenges beginner pizza makers face is opening and stretching their pizza dough.
Have you ever watched a professional pizzaiolo throwing and stretching, turning out perfect pizza after pizza effortlessly? But that’s not the reality when you try to stretch your own pizza dough. I know how frustrating it is! The dough springs back, it’s tearing, or it sticks to everything. But it doesn’t have to be this way.
I’ve tried every stretching method and made every mistake out there so you don’t have to!
In this article, I’ll go through how to stretch pizza dough for beginners, the most common challenges new pizza makers face, and the easiest method to get started, so you can turn out perfect pies every time!
The challenges of stretching pizza dough for beginners
Stretching pizza dough requires hard because you have the wrong dough and it requires practice.
Most of the pizza-making process is fairly straightforward to understand as long as you have a recipe to follow. Measure your ingredients accurately, add them in the right order, and let the dough rise at the right temperature for the right duration. But stretching the dough is different.
Stretching your dough to create the perfect pizza is a skill that requires practice. Much more practice than measuring flour accurately.
This guide will present the easiest method to get started so you can drastically cut down on the amount of time it takes to master the skill.
Using the right dough makes all the difference
Using the wrong dough makes stretching your pizza 10 times harder.
So before you even attempt to stretch your next pizza, let’s take one step back and have a look at your pizza dough. There are three important elements to pay attention to:
- gluten development
- how relaxed your dough is
- the hydration of your dough (how much water it contains)
First, gluten plays a crucial role in making stretchy pizza dough. It’s what gives you dough structure, and allows you to stretch it. If you have too little gluten development your dough will tear and if you have too much, it will just spring back when you try to stretch it.
So you need to use flour with a medium-high gluten content (my favorite is Caputo Pizzeria), and you need to knead your dough.
But you must also let the dough get enough time to rest before stretching. When you knead your dough or form dough balls, the gluten gets tight and elastic, making it impossible to stretch out the dough. But if you leave your dough to rest for at least 4-6 hours it will stretch out like a dream.
High-hydration dough (more water compared to flour) can make amazing light and fluffy pizza crust, but it’s hard to handle because it sticks to everything. So before you’ve mastered basic stretching, use lower hydration dough in the 60% range.
Here is a recipe to get you started: Authentic Neapolitan pizza recipe
Don’t use a rolling pin
The rolling pin is killing your pizza crust.
A common mistake beginner pizza makes is using a rolling pin to shape their pizza. When you knead the dough and develop gluten structures, you also create small air pockets inside the dough. And these tiny pockets are what makes your dough puff up to get a lovely tall and airy crust in the oven.
When you use your rolling pin you pop all the bubbles, and the result will be a flat and dense crust. So you should always hand stretch your pizza dough to get the best result.
Press and stretch – the easiest way to stretch pizza dough for beginners
You don’t need to throw your pizza dough in the air to make the perfect pie. There are dozens of ways to stretch pizza dough, and tossing it in the air is not at the top of that list.
An easy way to stretch pizza dough for beginners is the press and stretch method. This method involves using your fingertips and the heel of your hands to gently press and stretch the dough into a round disc while rotating to ensure an even thickness and shape.
The benefits of the press and stretch method are that it’s easy to get started, the pizza gets nice and round and you’ll preserve a nice rim that will puff up in the oven.
To perform the press and stretch method:
- Start by pressing the center for the dough to create a flat even pizza with a rim
- Stretching the dough using your fingertips and heel of your hands outwards
- Turn the dough and keep stretching until the dough reaches the desired size
In the next section, I will go through the whole process step-by-step.
How to stretch pizza dough for beginners step-by-step
Now that you have your dough ready, have put away your rolling pin, and know the basics of the press and stretch method, it’s time to stretch some beautiful pizzas!
Tip: have a few extra dough balls at hand, making mistakes is part of the process!
To stretch the perfect pizza, all you need to do is follow these 4 simple steps:
- Preparations
- Flouring the dough
- Initial shaping of the dough
- Press
- Stretch
Let’s take a closer look at each step!
1. Preparations
Start preparing a small pile of flour on your countertop. This is where we will place the dough to get rid of any moisture on the outside so it doesn’t stick to everything.
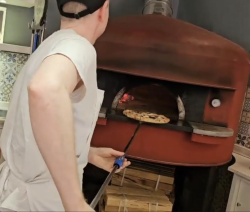
The best choice is semolina flour since the coarser texture prevents sticking. Semolina can also handle the heat from a
Tip: Place the flour on a plate or in a bowl to minimize mess and make cleanup easier.
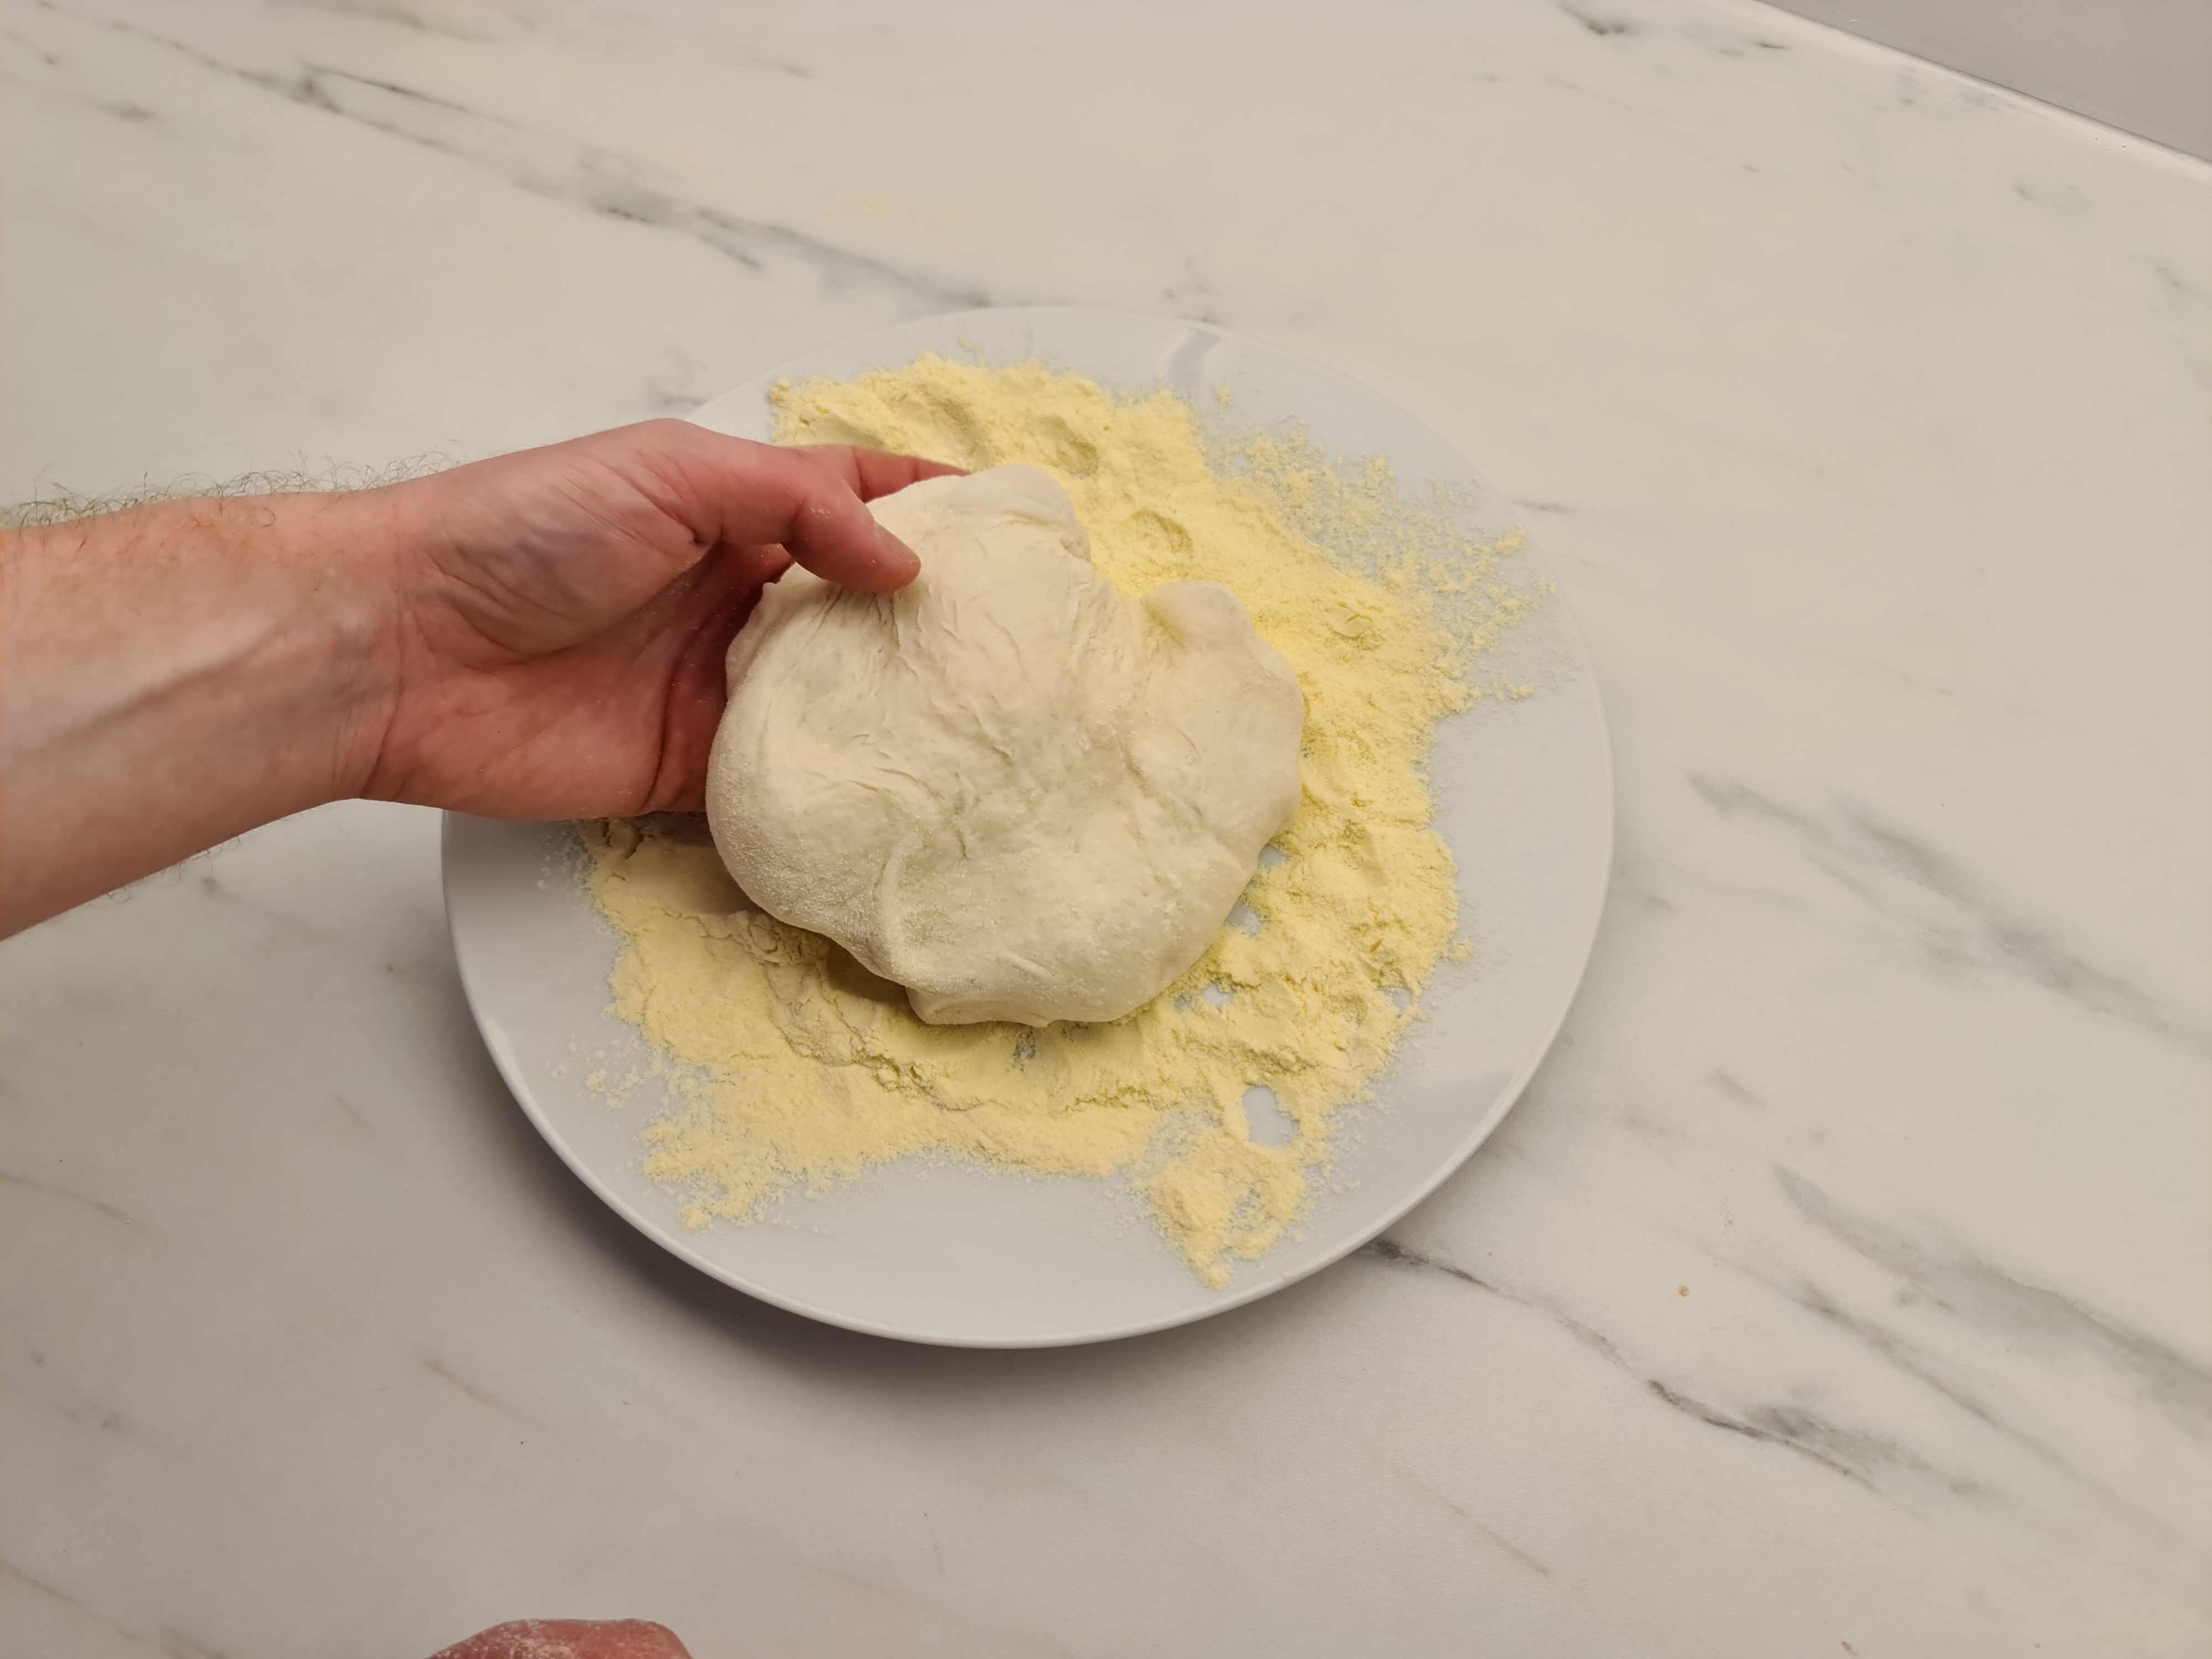
2. Flouring the dough
Carefully transfer the dough ball from the rising container to the pile of flour, making sure to cover the entire surface to prevent any sticky spots.
You want to be gentle to preserve the air bubbles in the dough.
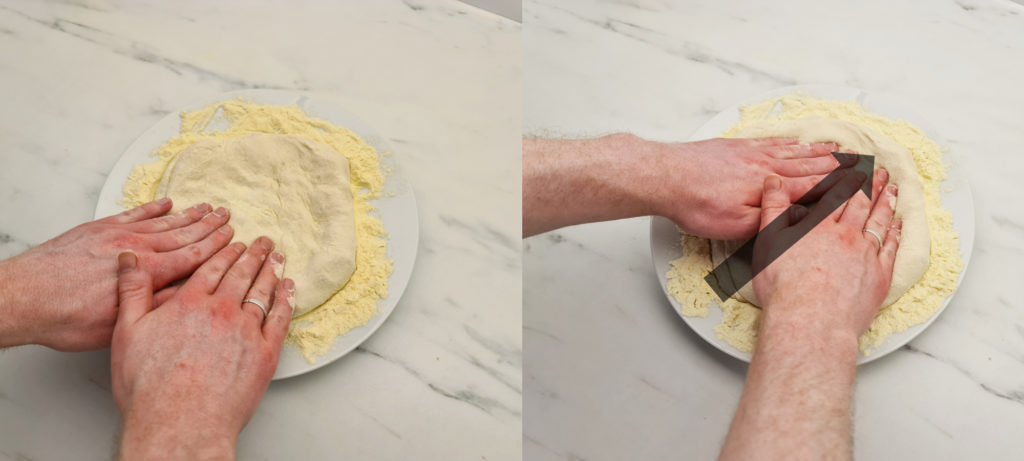
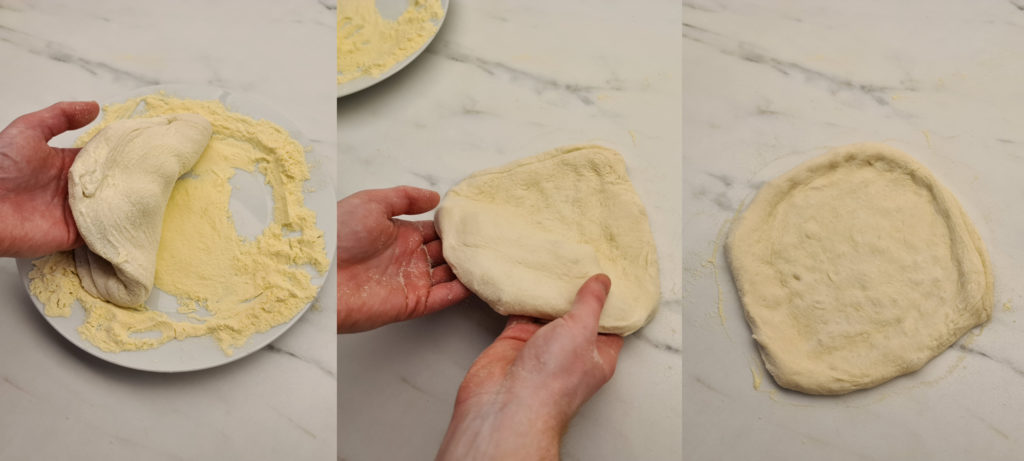
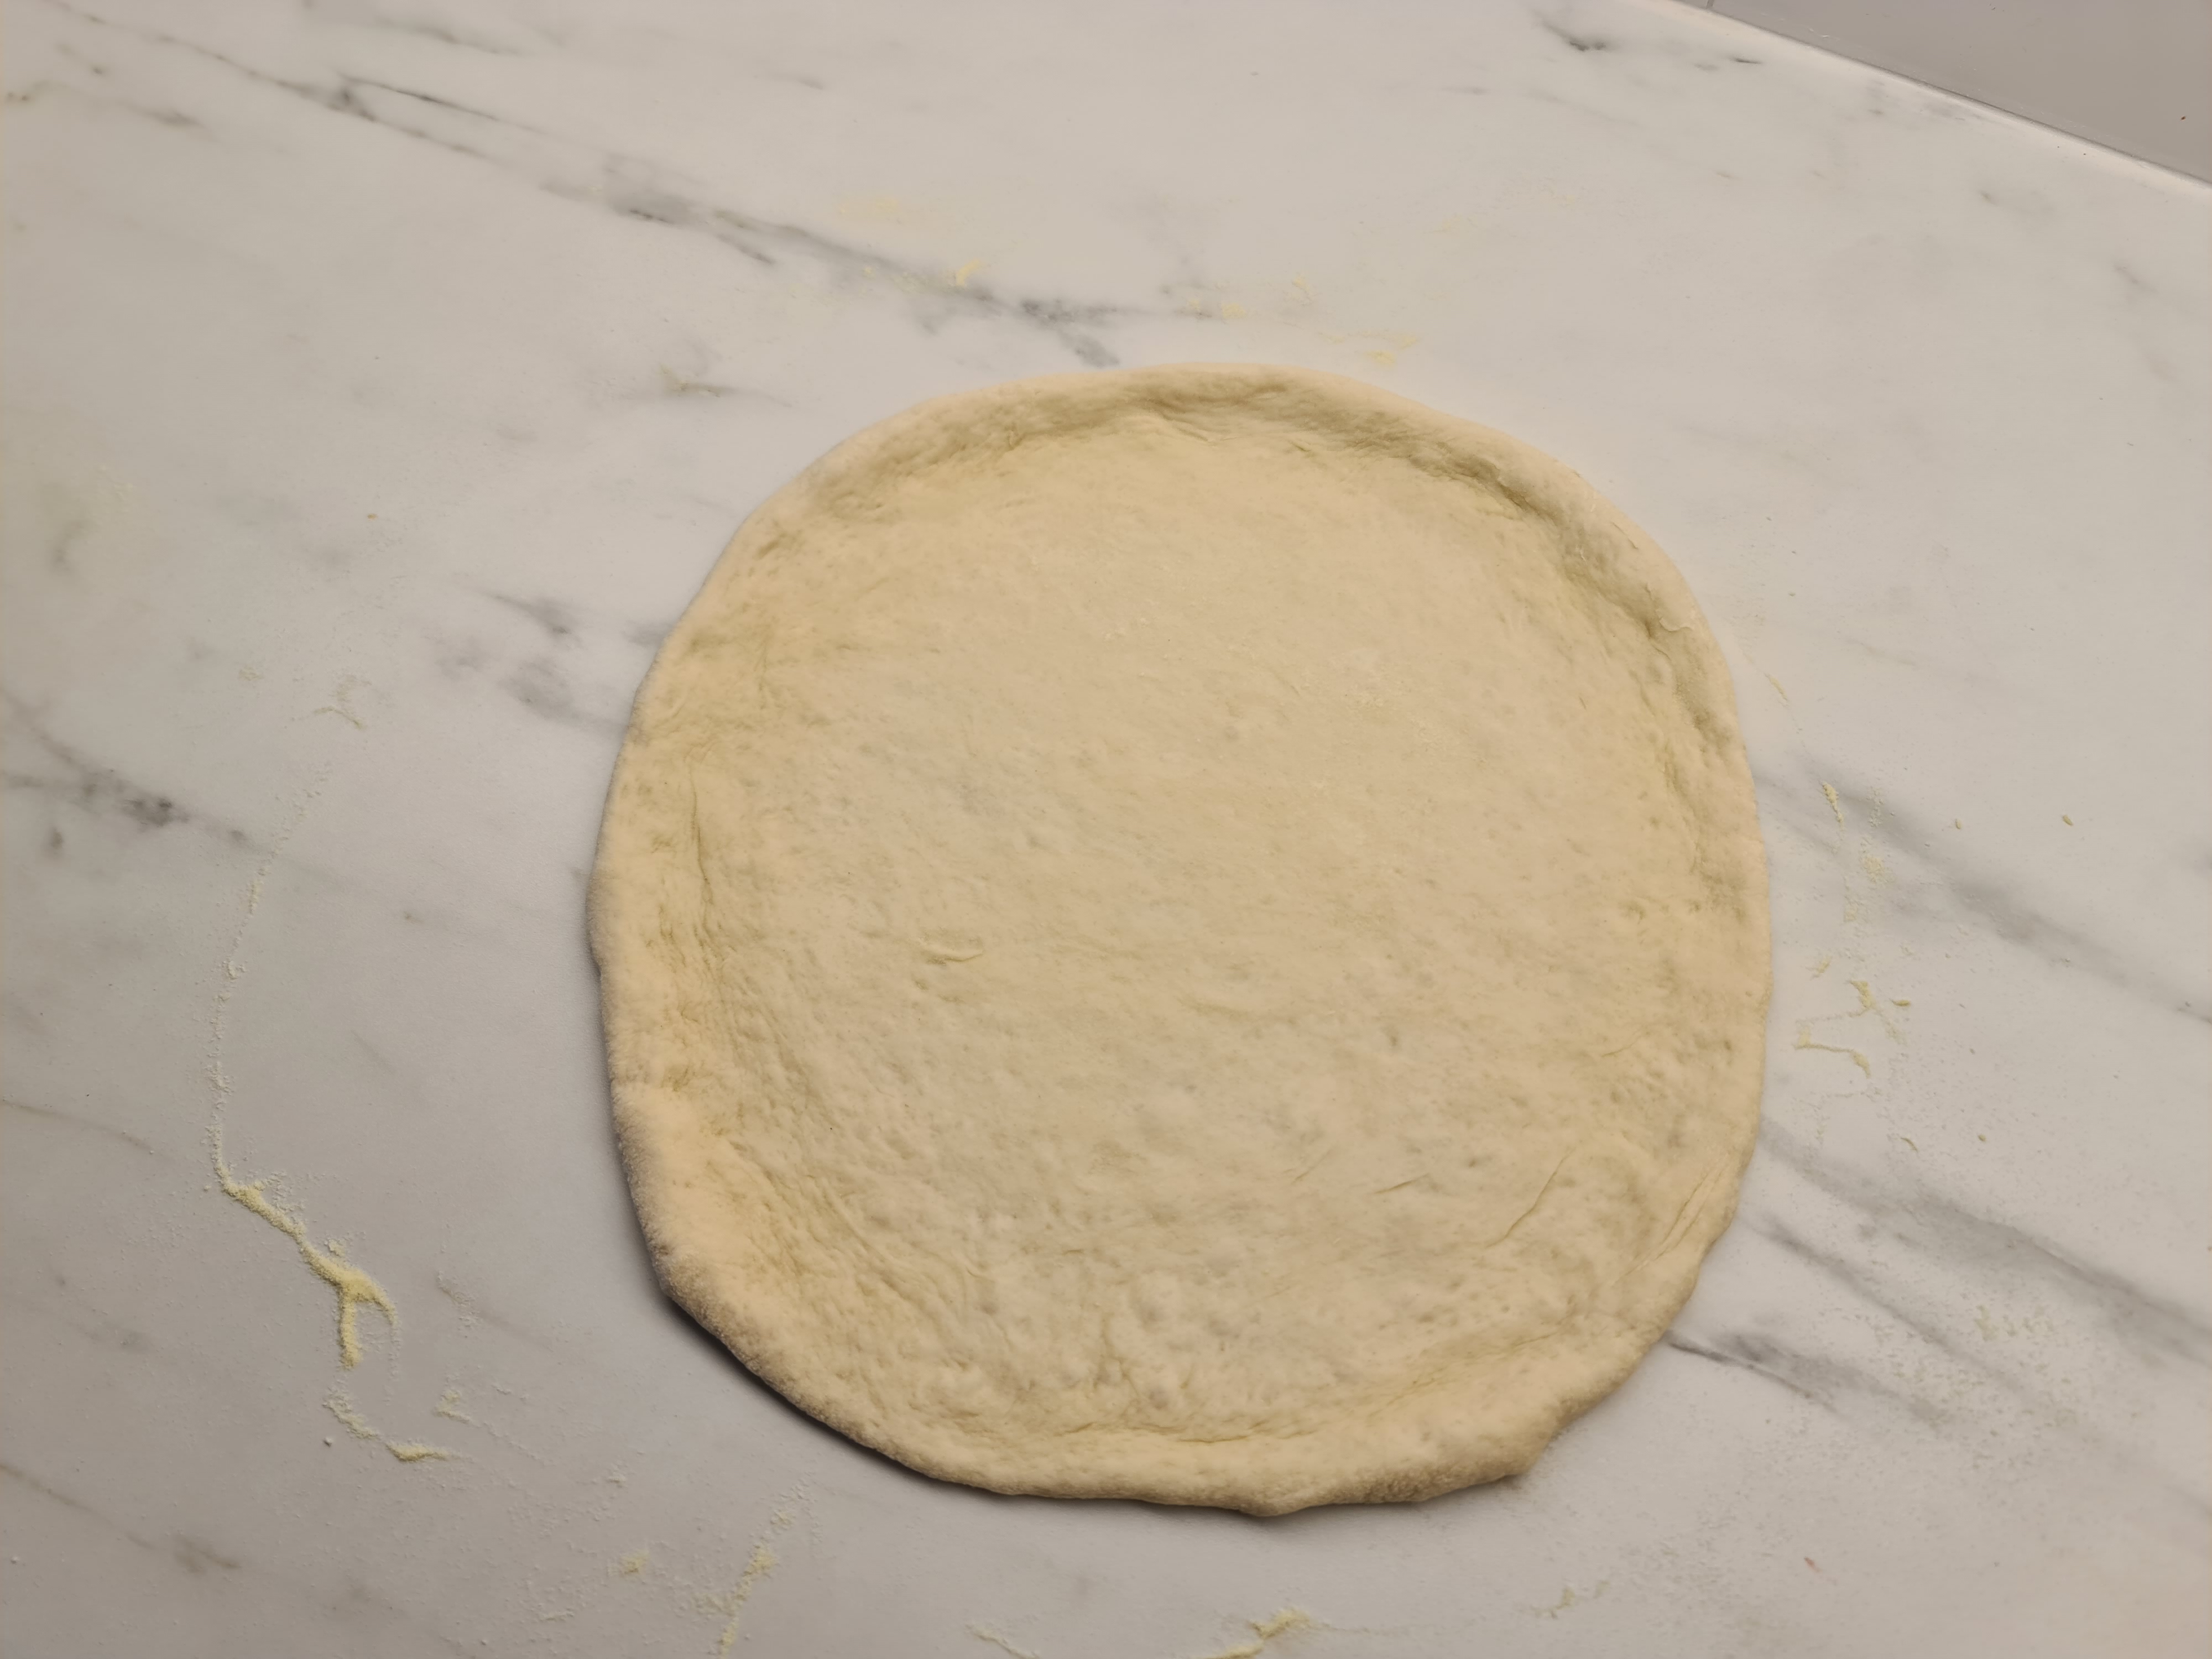
3. Initial shaping of the dough
Adjust the shape of the dough to make sure you start with an even, round dough. Then, lightly press the center of the dough using your fingertips to flatten the dough.
4. Press
Start by pressing the dough flat using your fingertips, start from the middle, and work your way outwards. But make sure to leave a 1/2 inch (1 cm) rim so it can puff up to a light and airy crust in the oven.
Next, move the dough to a clean part of your countertop.
5. Stretch
Place your flat hands on the dough and gently stretch outwards. Rotate the dough, and repeat until you reach the desired size.
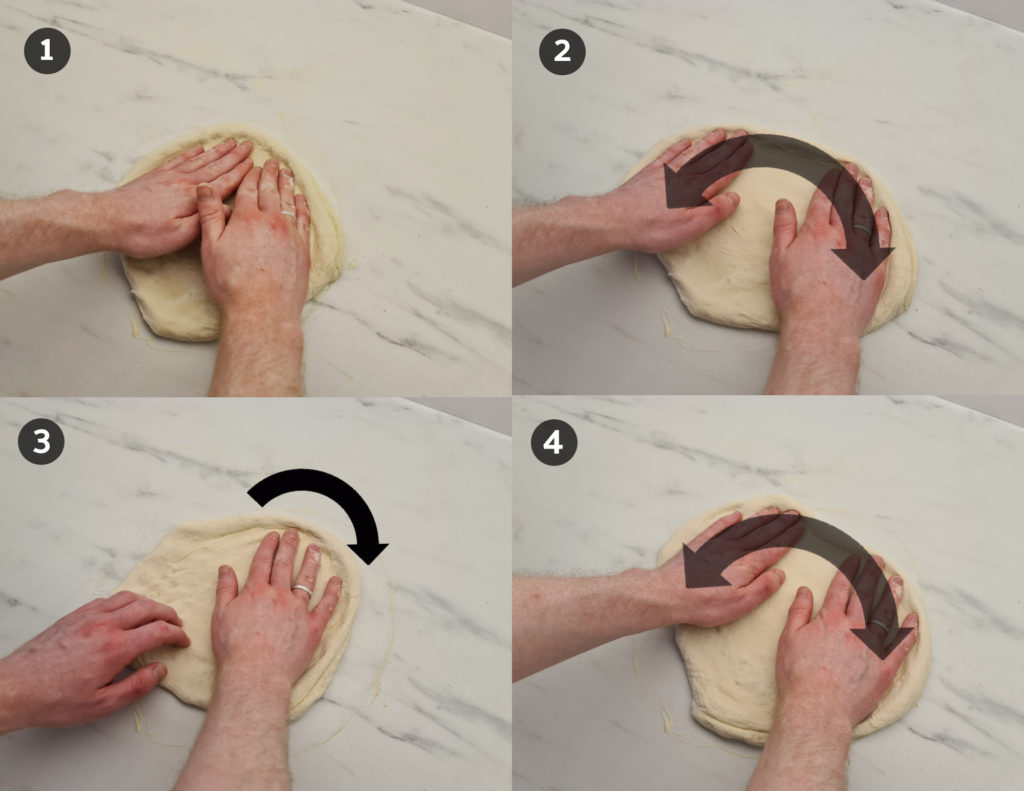
- Position your hands
- Gently stretch outwards
- Rotate the dough
- Gently stretch outwards
Common problems when stretching pizza dough
Here are some common problems beginners make when stretching pizza and how to solve them.
The dough is tearing
Tearing happens when your dough lacks gluten development. The two main reasons for the lack of gluten development are using low-gluten flour and not kneading the dough enough. It also happens if you over-proof your dough by leaving it to rise for too long.
You can read more here: Why pizza dough is tearing when stretching.
The dough is too tough and springs back
If your dough just springs back when you stretch it the most common cause is that the gluten is too tight. Gluten gets tight when you knead the dough, so you need to let the dough relax before stretching. It also gets tight when the dough is cold, so if you could ferment your pizza dough, you need to let it come to temperature to get stretchier.
Too much gluten and over-kneading can also result in a dough that’s very hard to stretch.
You can read more about Why your pizza dough is hard to stretch here
The dough is too sticky
Sticky dough is frustrating. so make sure to use enough flour when stretching the dough.
Your dough also gets sticky when you make high-hydration dough (more water compared to flour). High-hydration dough can make amazing light and fluffy pizza crust, but it’s hard to handle. So before you’ve mastered basic stretching, stick to lower hydration dough. Around 60% is a great starting point.
Uneven pizza
Practice makes perfect. The truth is it will probably take a few attempts to get perfectly even, round pizzas, but by following the steps in the how-to section you will spin out nice pizza pies in no time!
- Neapolitan Pizza Dough Planner - June 7, 2026
- Is Your Pizza Dough Too Dry? Here is How to fix it! - June 10, 2024
- The Ultimate Guide to the Pizza Dough Windowpane Test - June 8, 2024